• ‎
  • PORTRAITURE
  • EVENT
  • MUSIC
  • STILLS
  • About + Contact
ADRIANNE ARMIDA
  • ‎
  • PORTRAITURE
  • EVENT
  • MUSIC
  • STILLS
  • About + Contact

Baked Jam Donuts

She’a back at it again! This time it’s oven-baked jam donuts and my goodness, they are the absolute bomb! I have to give a special thank you to my friend Michaela for inviting me on a virtual baking date/competition with this easy recipe from So Vegan. I’ve put one or two twists on this recipe and yes, you can make it both vegan and non-vegan, depending on your preference. These are still a naughty treat because they are extremely sugary, but at least they aren’t deep fried. ;) I also have a beautiful recipe for a homemade sugar-free strawberry jam which can be used for these donuts (or just in general!) that I’ll post eventually.

My main tip for this recipe is to leave your dough to rise for a minimum of two hours. You can even leave it longer if you have errands to run, but the more time you can give it the better. I also highly recommend using dry yeast as after making these multiple times I find it works a treat!

This is a pretty easy recipe to start with and perfect, but just remember: have fun! Also, be patient with yourself - especially if you’ve not worked with dough before. I find making mistakes in baking equal parts infuriating and awesome, because messing up is the best b!tch of a teacher and often leads to serendipitous discoveries.

Without further adieu, here’s how to make baked jam donuts!

x

Adrianne

donuts_edits-13.jpg

INGREDIENTS

  • 2 tbsp chia seeds (or two eggs if preferred)

  • 350g plain flour, plus extra for kneading

  • 2 tsp dried yeast

  • 1 tsp salt

  • 4 tbsp caster sugar 

  • 150ml milk of choice (I love coconut)

  • 1 tbsp apple cider vinegar

  • 50g butter of choice

  • oil for greasing (any is fine)

To coat:

  • caster sugar

  • 1 tub of strawberry jam (or your preferred filling)

  • 1/3 cup butter (melted)

donuts_edits-3.jpg
Chia “eggs”!

Chia “eggs”!

Butter, coconut milk and apple cider vinegar.

Butter, coconut milk and apple cider vinegar.

INSTRUCTIONS

  1. Put chia seeds into a small bowl and add 6 tbsp water. Stir to combine, then set aside. Alternatively, you can whisk two eggs together.

  2. Combine the flour, yeast, 4 tbsp caster sugar and salt in a large mixing bowl, and create a well in the middle.

  3. In a saucepan over low heat, combine milk, apple cider vinegar and butter until melted and blended. Pour into the dry ingredients and then add chia mixture. Mix with a wooden/plastic spoon until it forms into dough. 

  4. Remove dough from the bowl, flour your surface and knead for 10 minutes. Add more flour as you go if the dough is too sticky. You’ll know it’s ready when its not so gooey that its sticking to your skin, but bounces off.

  5. Line the mixing bowl with any oil and place the dough inside. Cover with a tea towel and leave to rise for 2 hours in a warm place. It should double in size when you check on it.

  6. Line 2 trays with baking paper.

  7. Remove the tea towel from the bowl and gently press into the dough to remove the air. Dust surface with flour again and roll dough out until it is approximately 2cm thick. Use a cutter (any shape you like, 5-7cm wide) and lay the pieces onto baking trays (this recipe should make 12-15 doughnuts). Spread evenly along trays and cover with tea towels for 20 minutes to rise further.

  8. Preheat oven to 180°C.

  9. Bake the doughnuts for 10-12 minutes. You can flip them over if you like but you don’t have to. I wait until they have a slight browning to them to know they’re ready and not overcooked.

  10. Remove from the oven and leave to cool for 10 minutes.

  11. Place about 1/2cup of caster sugar to a bowl and melt butter in a small bowl.

  12. Brush the doughnuts with the melted butter, then coat them with sugar. Using a knife, make an incision into the side of each doughnut approximately 2/3 of the way in.

  13. Add jam to a piping bag with a small nozzle and pipe the jam into the doughnuts.

donuts_edits-4.jpg
donuts_edits-5.jpg
donuts_edits-8.jpg
donuts_edits-9.jpg
donuts_edits-10.jpg
donuts_edits-11.jpg
donuts_edits-14.jpg
donuts_edits-15.jpg
donuts_edits-16.jpg
tags: cooking, baking, donuts, jam, jam donuts, sugar, isolation, cook, yum, recipe, chia, vega, vegan
categories: Baking
Sunday 04.26.20
Posted by Adrianne Gullotta
 

Blueberry + Strawberry Galettes

Anyone that knows me won’t be surprised at my love for baking. Limoncello Tiramisu, Sticky Date Pudding and Peanut Butter Blossoms are some of my signatures and I am constantly on a mission to find my next ones. I love everything about baking - the prep, the taste-testing, the mess, the artwork and patience…It’s incredibly therapeutic.

What I love most about the baking process however, is seeing others enjoy what I’ve made. What can I say - it’s the Italian in me! Thanks to Isolation, Bake-drianne is back in full swing and my family have been loving it.

This is a recipe I found through Minimalist Baker and have now made a handful of times to the point where the measurements are in my head. I’ve tweaked it slightly and thrown my own twist on these Galettes, making them with blueberries, apples, blackberries and strawberries (my FAV).

Galettes were my first time working with pastry from scratch and I have to say this one is delectable. It’s thin and perfectly buttery to the point the crumble melts in your mouth. If you’ve never made pastry before this is the perfect starter for you.

You can easily keep this recipe vegan and use a plant-based butter, but I prefer to use real, creamy butter to get that full pastry effect. It tastes wonderful both ways, but depends on what taste/texture you are going for. I always, always use Devondale when I bake - I have used every butter you can think of and without fail it always brings a full-bodied flavour to every dessert, especially dessert sauces!

If your pastry breaks apart in the oven and juices from the fruit leak out, DO NOT FEAR - that juice will simmer into a Jam because of the corn flour and will not make your pastry go soggy, so if this happens on your first go it will still be amazing!

Enjoy!

x

Adrianne

I used a piece of string to divide my dough ball, but a thin, sharp knife will do the trick!

I used a piece of string to divide my dough ball, but a thin, sharp knife will do the trick!

What you’ll Need:

  • 2 cups all-purpose flour

  • 1/2 tsp sea salt

  • 12 Tbsp cold butter (I always use Devondale)

  • 4-6 Tbsp ice cold water

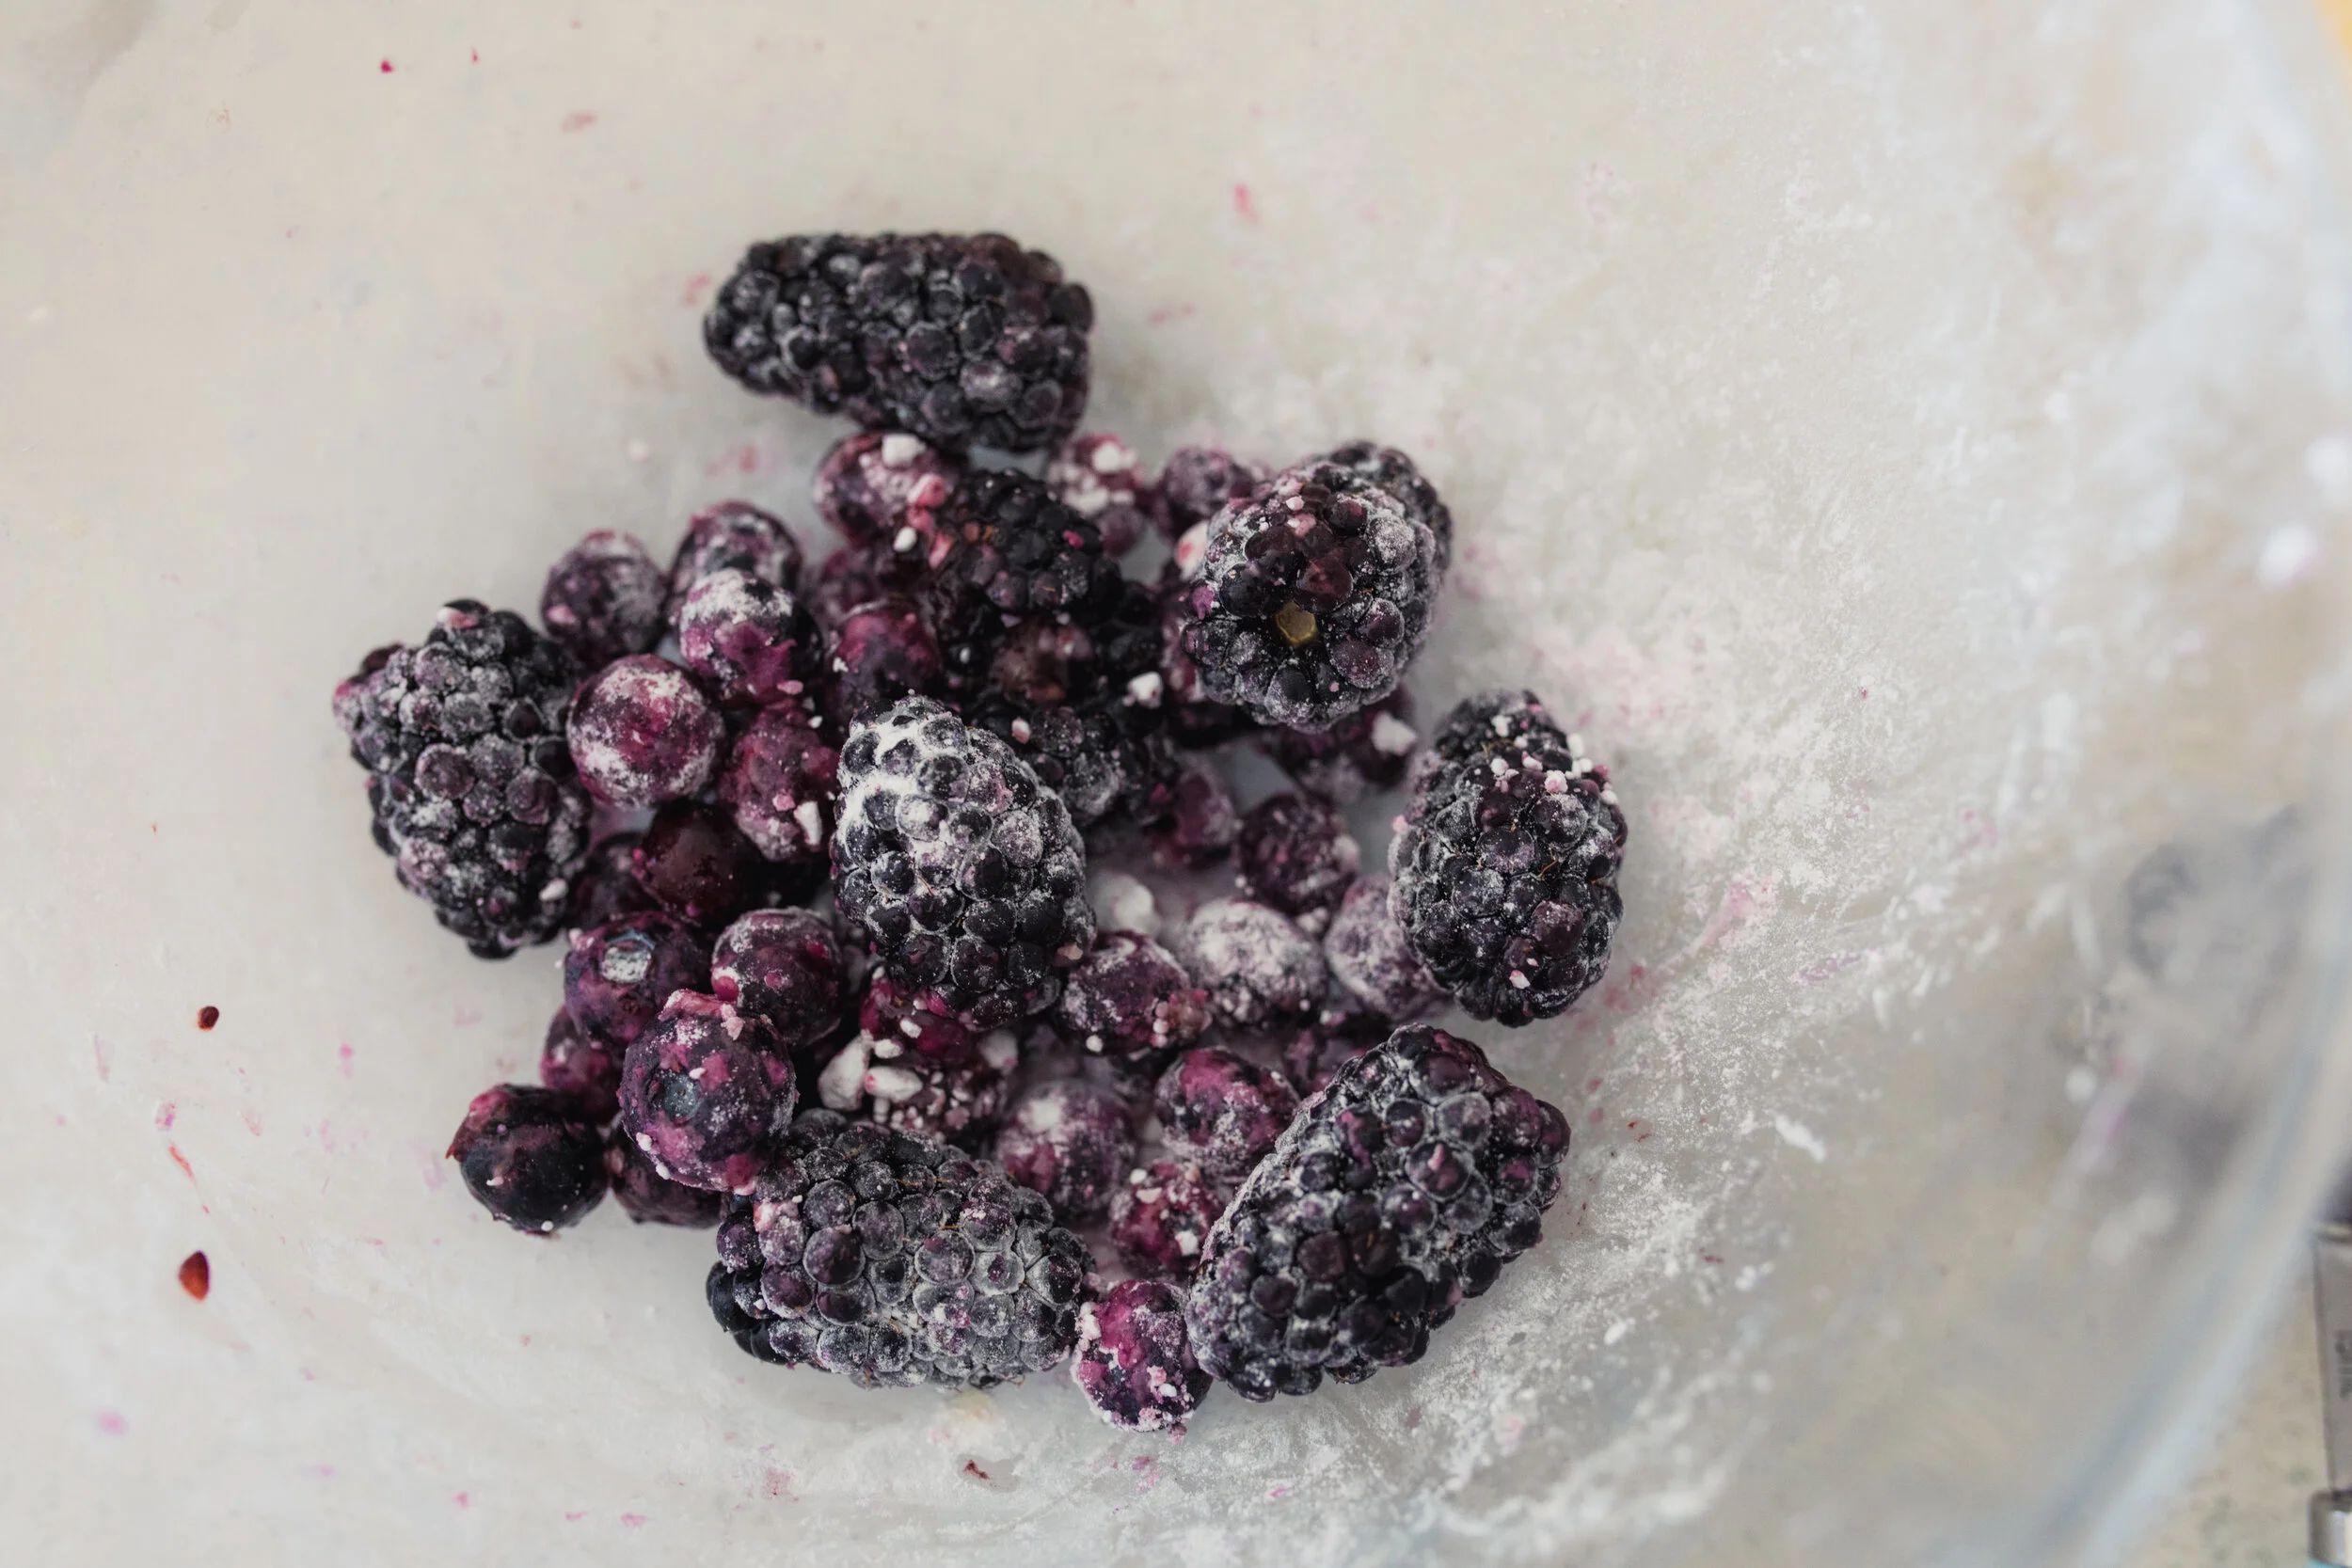
  • 3 cups fresh or frozen blueberries (Blueberries/Strawberries/Blackberries or Apple if you like instead)

  • 1 Tbsp caster sugar (plus more for topping)

  • 1 tsp cornstarch

  • Chia seeds (if you would like to add them to your berry mixture)

  • 1 whole orange

Topping

  • Whipped cream

  • Ice Cream

  • Coconut Cream

food_-4.jpg

Instructions

  • Preheat oven to 200°C and line two large trays with baking paper.

  • Mix the flour and salt in a large mixing bowl. You can cut the butter into the flour until well blended using a pastry cutter or fork, but I prefer to use my hands.

  • Add water 1 Tbsp (15 ml) at a time and stir until the dough peels off of the bowl. Typically this requires around 4-5 Tbsp. If you add too much water, add more flour to balance it out.

  • Transfer dough to a lightly floured surface and form into a ball. Divide into four pieces if making small galettes, or six for mini ones. I used a piece of string to divide them easily (and leave less mess by using one less knife!).

  • One at a time and adding flour as needed, use a rolling pin to roll each piece of dough out into a rough circle. Use the rolling pin to pick up the dough (wrap it around the rolling pin) and transfer to the baking sheets. Then fold the dough off of the rolling pin onto the baking sheet.

  • Add blueberries to bowl you just used for the dough and toss with sugar, cornstarch and chia seeds (if you want chia!). Place your preferred amount of berries in the center of the dough.

  • Next, carefully fold the crust edges up, overlapping them as you go. It will probably look a bit ugly the first time you make it and that is A-OK. If it’s ugly, it’ll have extra character! You’ll see mine aren’t perfect by any means. Try to ensure no cracks remain or the fruit will seep out. Not to worry though! If it does seep out it will form a jam-like substance that is DELICIOUS and will just be like a self-saucing element to the galette!

  • Brush over the pies with a touch of water (or melted butter) and sprinkle with caster or raw sugar to ensure a golden, crisp crust. Here is where the orange comes in - I like to squeeze fresh orange juice over the top of the pastry either on top of the butter or on it’s own. It just adds this extra element of surprise that complements these galettes beautifully!

  • Bake for 20-28 minutes for mini galettes or 28-35 minutes for small galettes, or until the crust is golden brown and the fruit is bubbly. Serve warm with a scoop of ice cream, whipped cream or whatever you desire.

You’ll know it’s ready when the dough rolls cleanly off the edges of the bowl.

food_-5.jpg
food_-6.jpg
food_-8.jpg
food_-10.jpg
food_-13.jpg
food_-15.jpg
food_-17.jpg
tags: baking, cooking, galettes, galette, pastry, strawberry, blueberry, blackberry, apple, egg, flour, sugar, minimalist baker, vegan, butter, cook, isolation, bake, yum, delicious, homemade, scratch
Friday 04.17.20
Posted by Adrianne Gullotta
 

Powered by Squarespace.